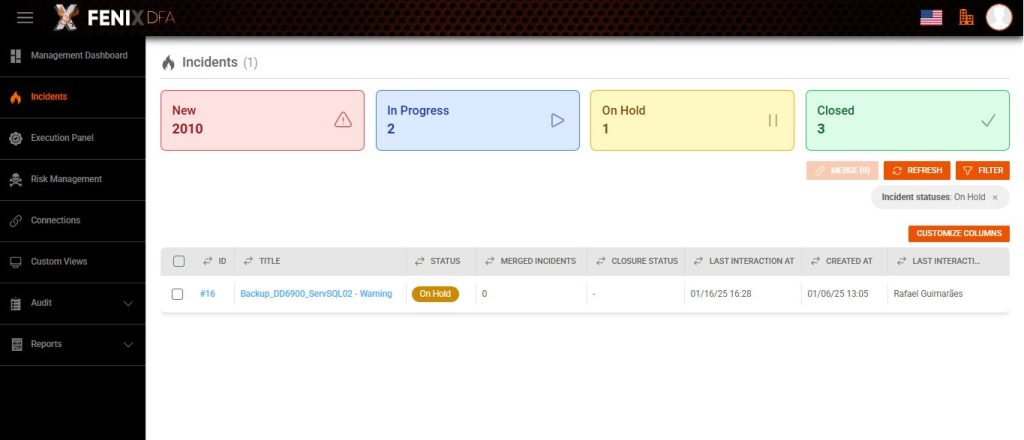
Incident Management
All backup routines with a termination status other than success are imported by Fenix DFA as an incident;
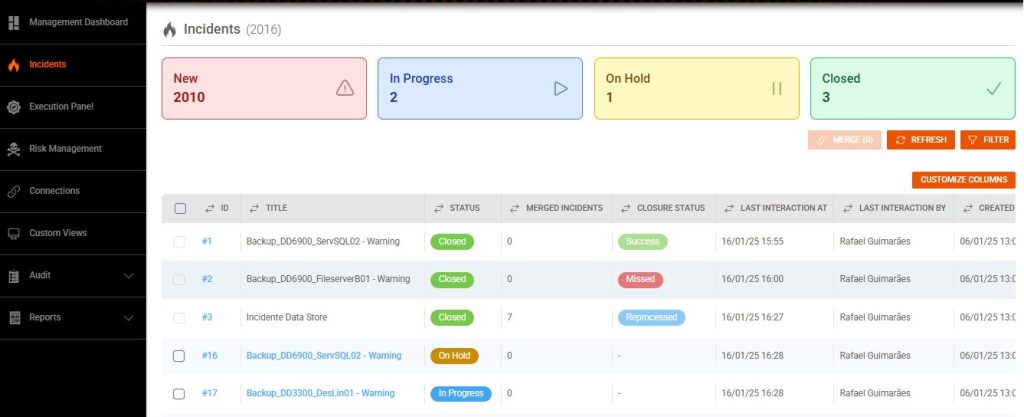
Missed or not started routines are also treated as incidents;
Administrative routines that are vital for the security and resilience of backups are also imported.
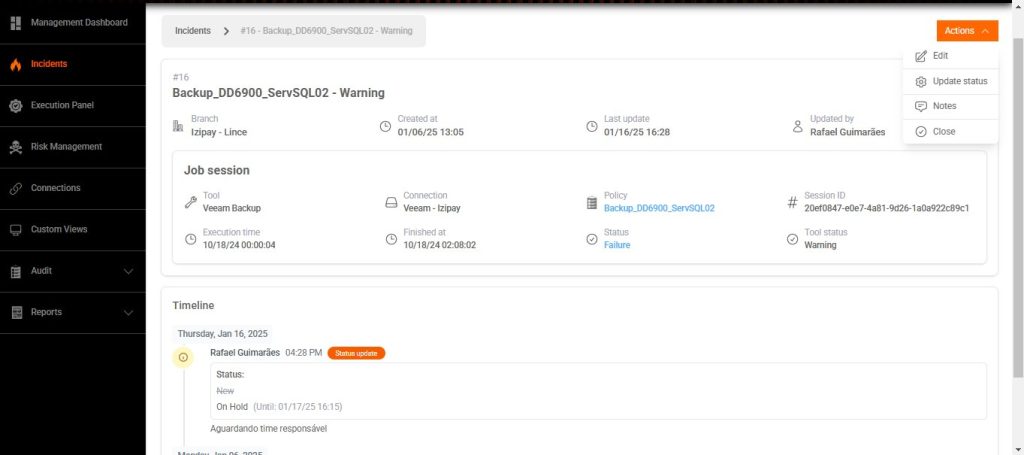
Accessing the incident by clicking on its ID, we have complete information about the failure. In “Actions”, we can “Edit”, “Update Status”, add “Notes” and “Close”.
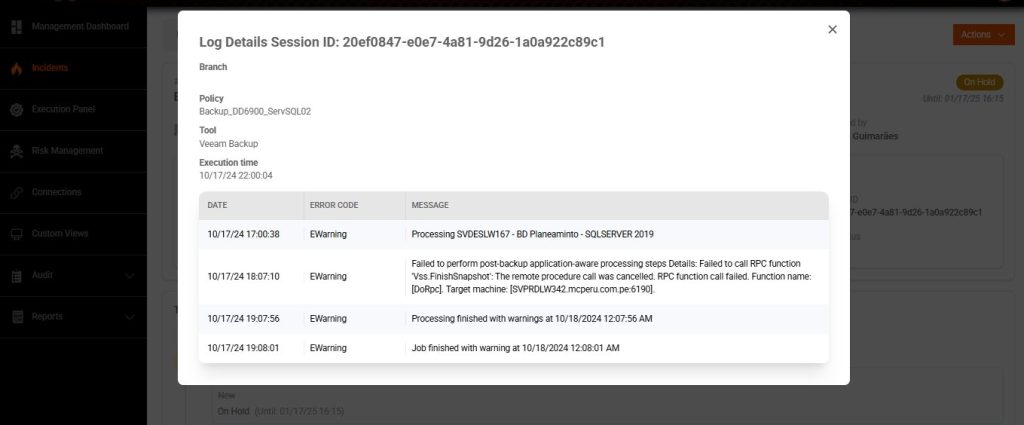
By clicking on “Failure”, we have the tool’s error logs.
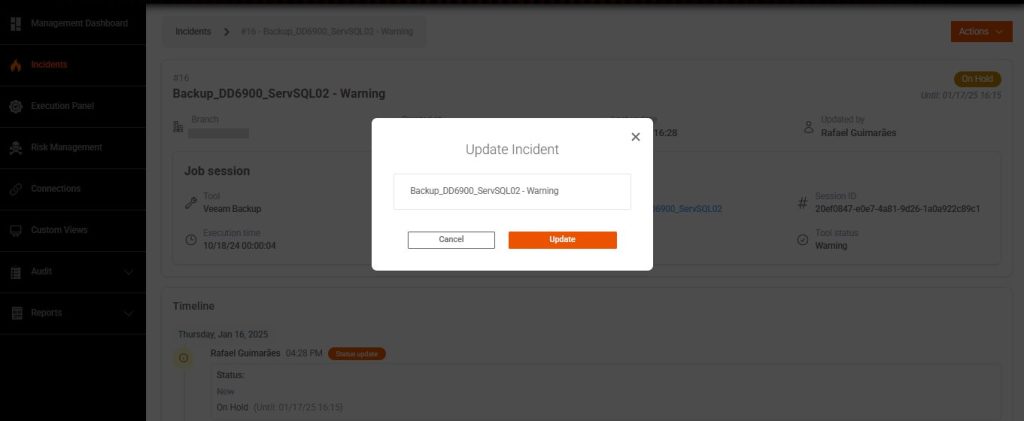
In “Edit” we can rename the incident, for better identification in the panel.
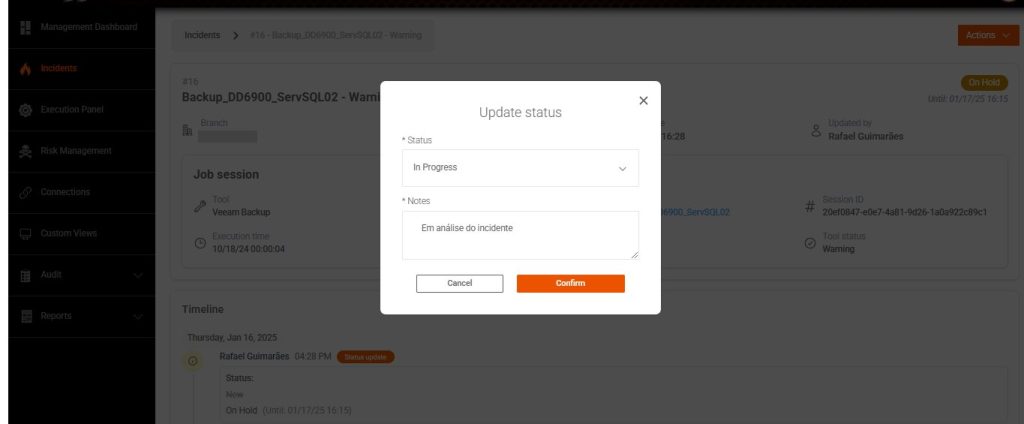
In “Update status” we can classify it as “In Progress”, where we place a note indicating service.
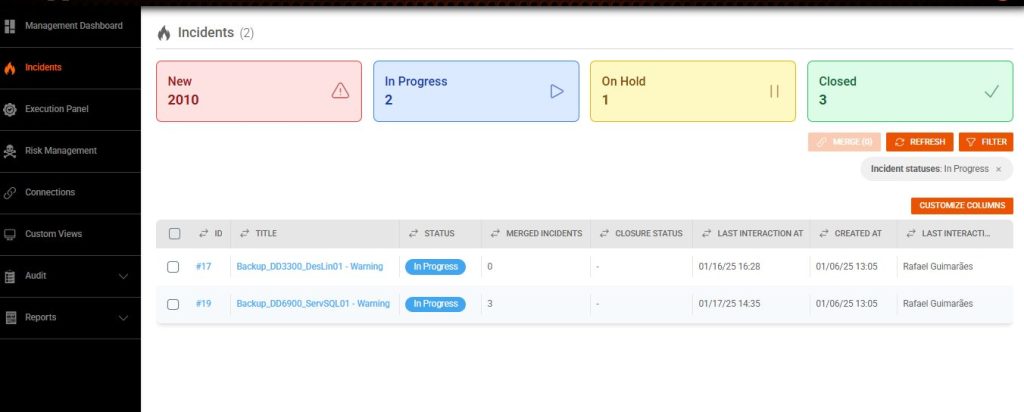
After this update, the status will be in blue, classified as “In Progress”.
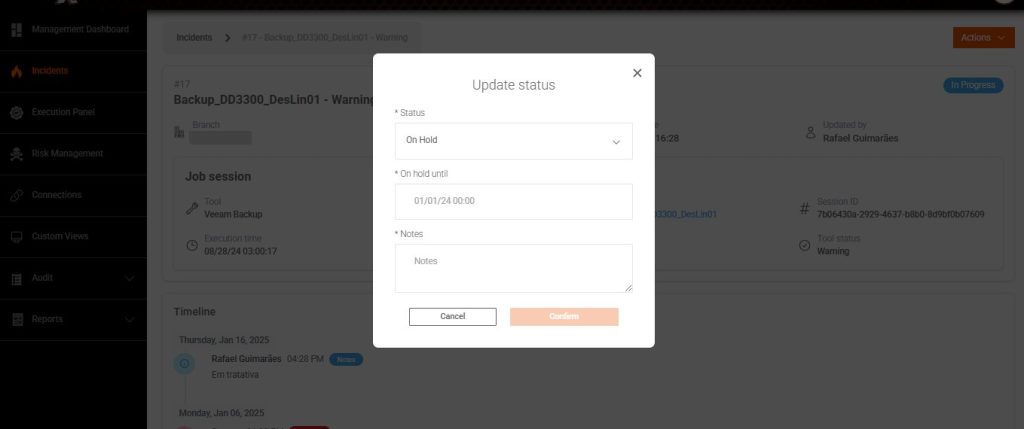
In “Update Status” we can also classify as “On Hold”, so we can indicate that there is an external team responsible for the actions that will resolve the incident.
The “On Hold” status will be marked in Yellow. After reaching the previously defined date and time, the incident will return to the “In Progress” status.
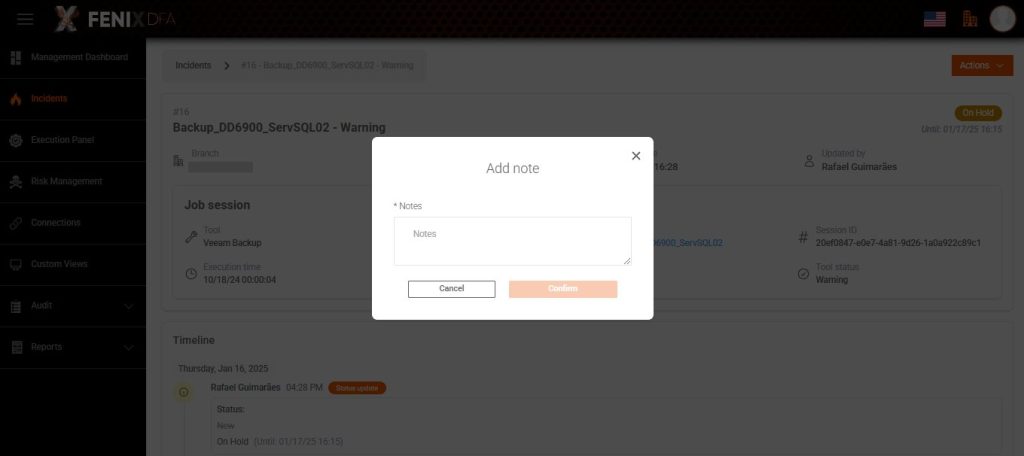
We can also post service notes, reporting progress and documenting the activity.
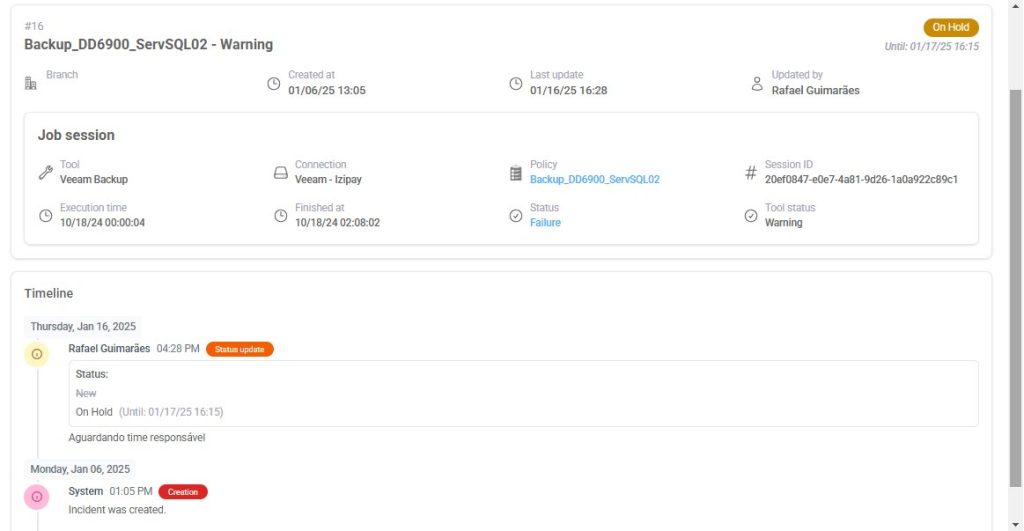
All actions performed in the incident will be marked on the Timeline. The time and users who performed the action will be indicated.
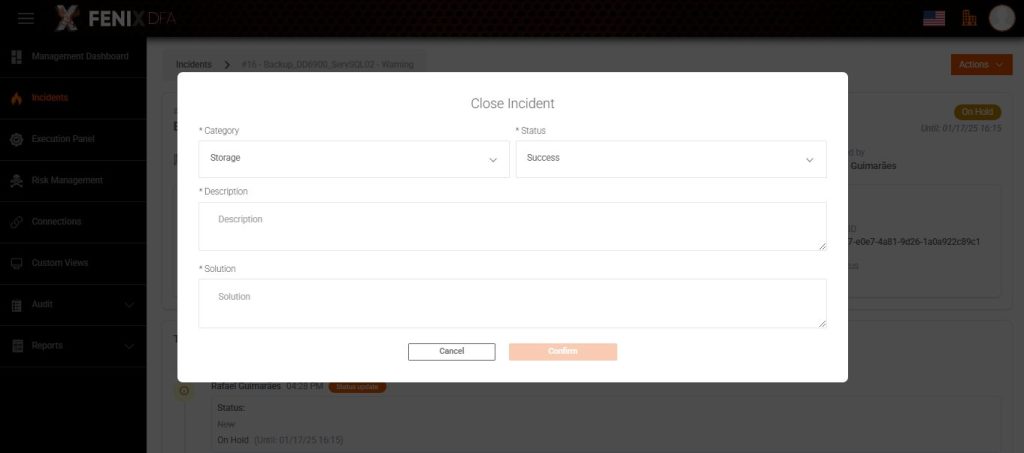
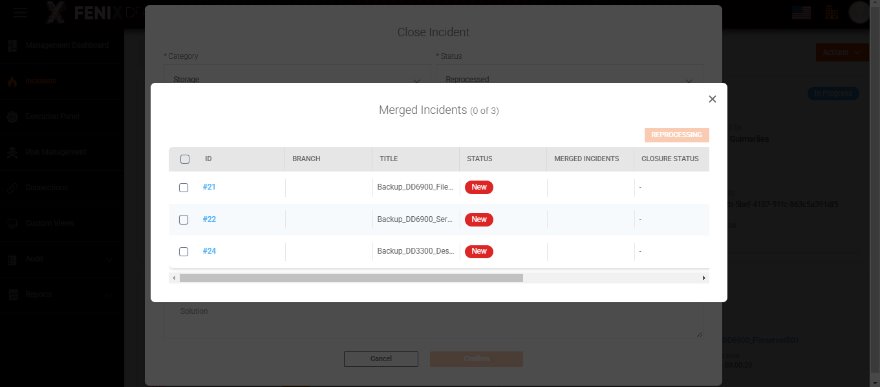
In “Close”, we can classify the “Category” of the incident, the “Status” of closure, and provide a description and solution.
In the case of “Success”, it indicates that the incident is a “false alarm”, that is, an error situation that does not interfere with the valid position of the backup.
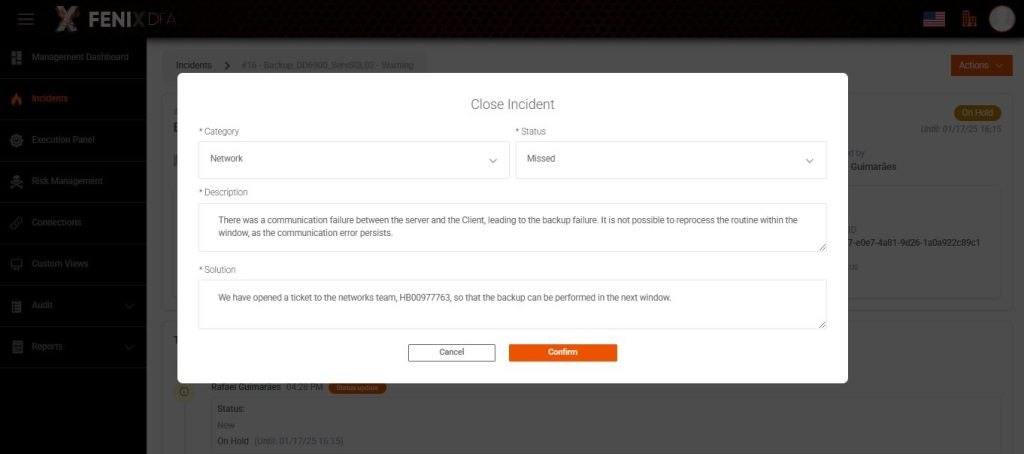
In case of “Missed” status, we will indicate that it was not possible to reprocess the backup(s) within the expected window and the data position could not be saved.
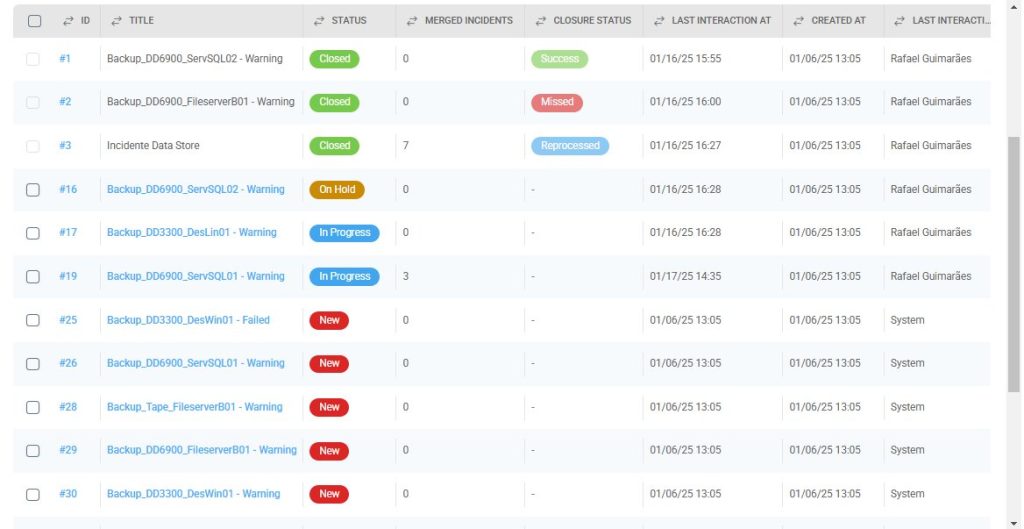
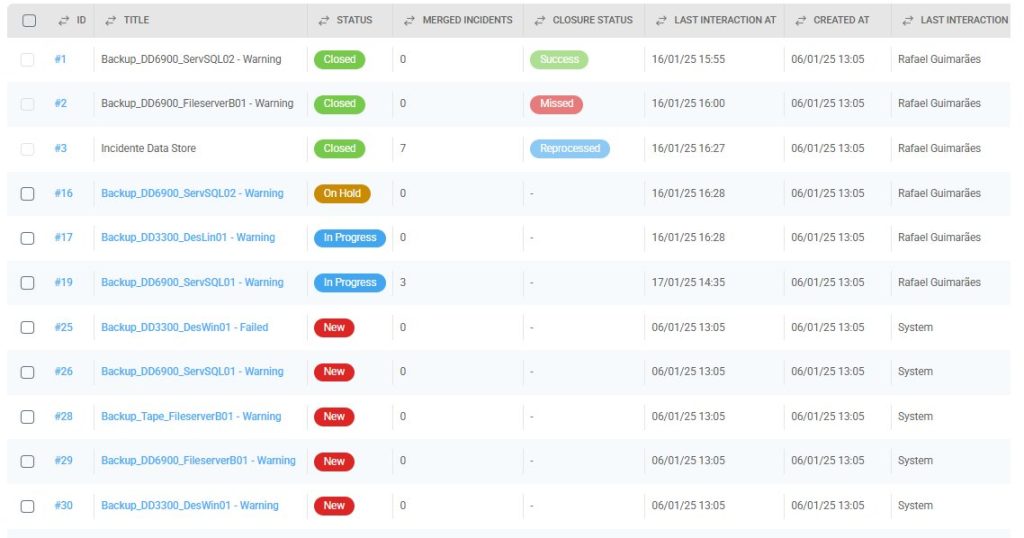
In the incident dashboard, there is a column of “Closing Status” it will be flagged as green for success and red for lost.

In the incidents panel, we can select multiple incidents, and if they are related in their solution, they can be “merged” into a single incident for common treatment.
In the “Merged Incidents” column, we can see how many incidents are related.
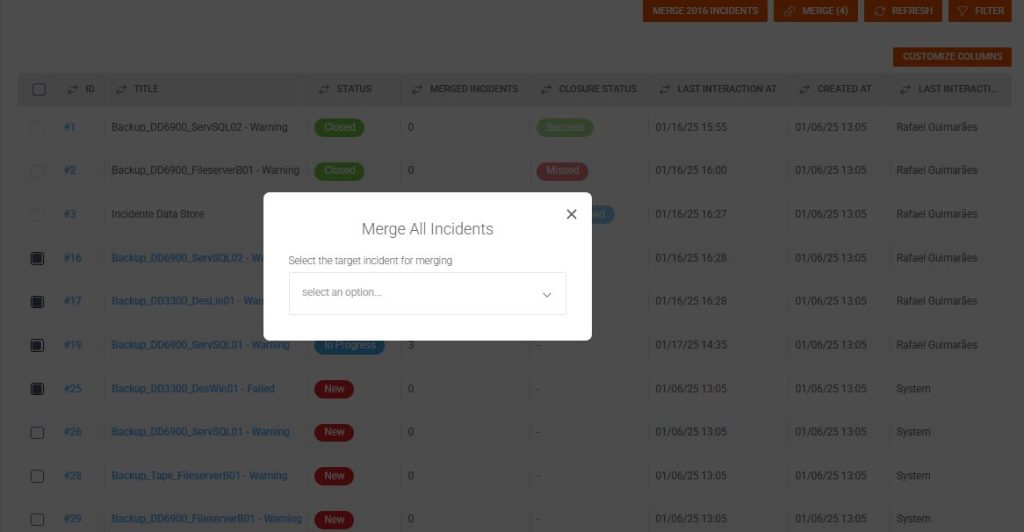
When clicking on “Merge” we must indicate the destination incident. This destination incident must be included in the merge selection.
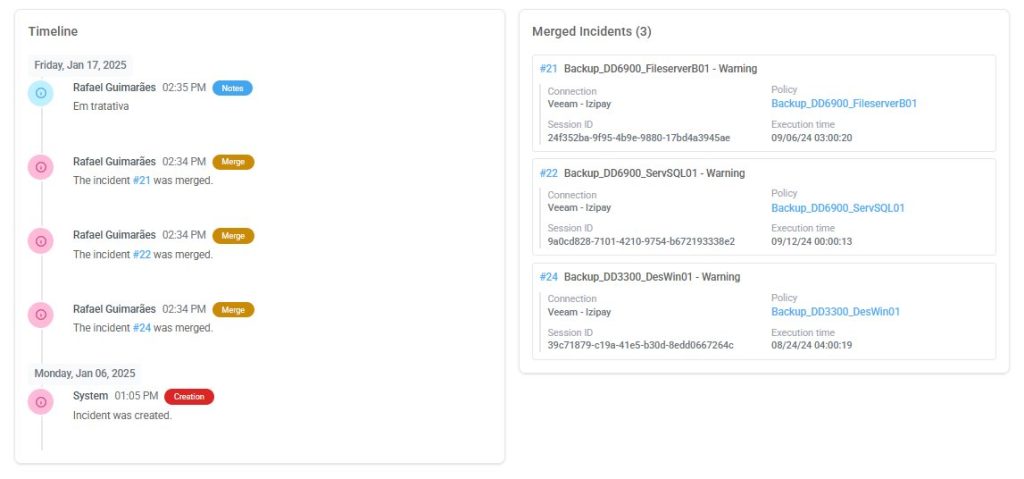
In the target incident, the list of all “Merged Incidents” is documented and can be consulted. Also in the timeline, we can see who and when the incidents were merged.
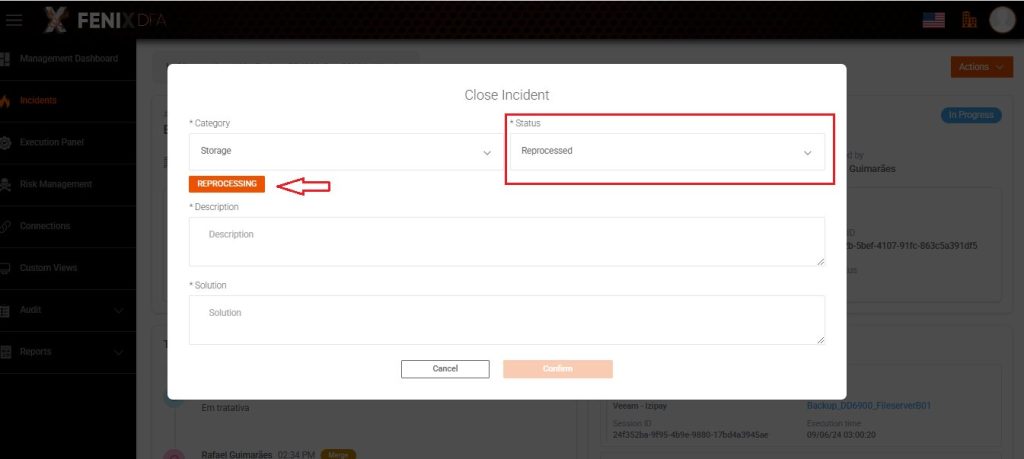
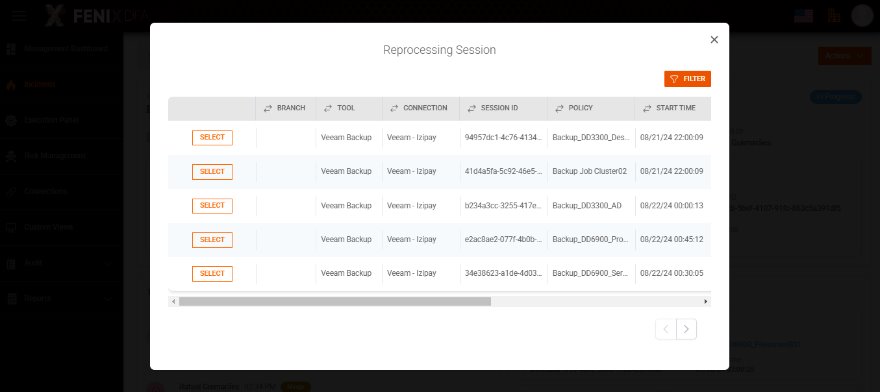
To close incidents as reprocessed, merged or not, we must indicate the “Reprocessing” sessions. This way we maintain traceability of actions on backup failures.
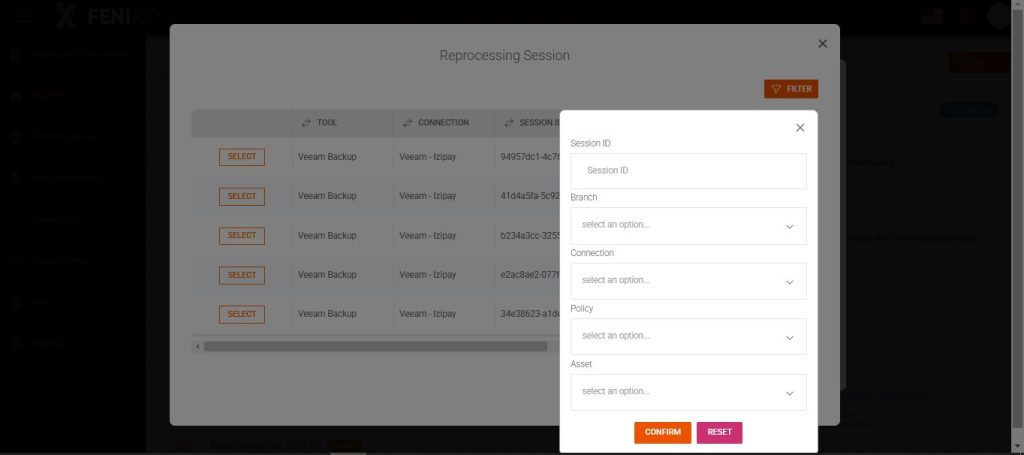
We can filter the list of sessions to search for the reprocessing session.
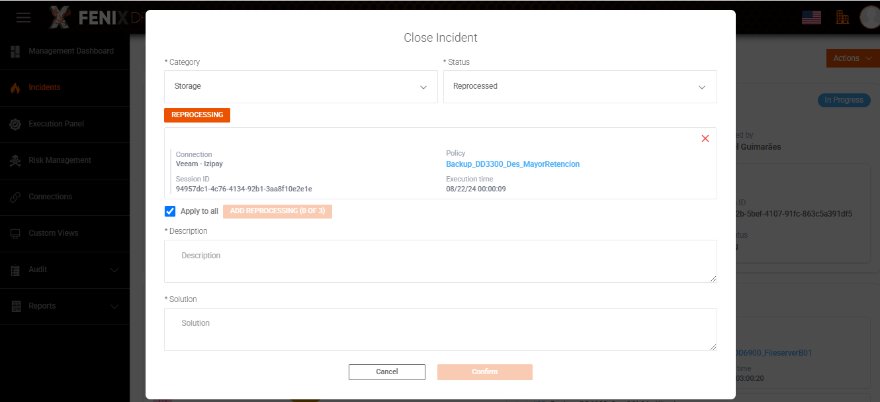
After indicating the reprocessing session, by default this session will be applied to all merged incidents.
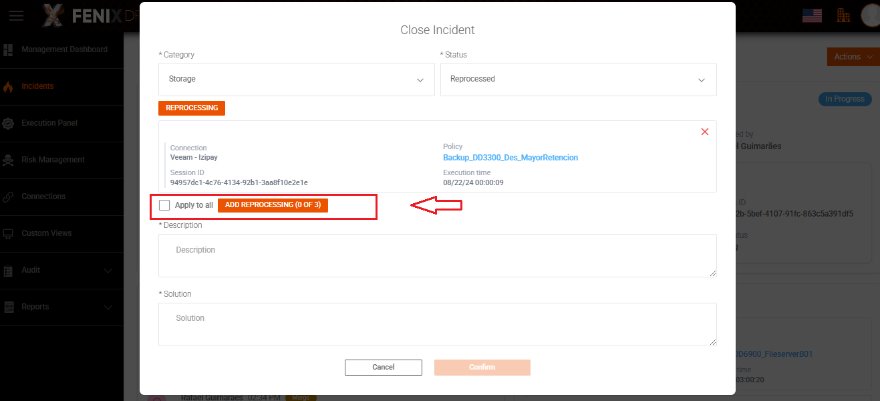
There may be situations where reprocessing actions have been used in several sessions, so we can create this relationship through the “Add Reprocessing” option.
To link incidents, you need to first select the incidents.
Then we select the related reprocessing section.
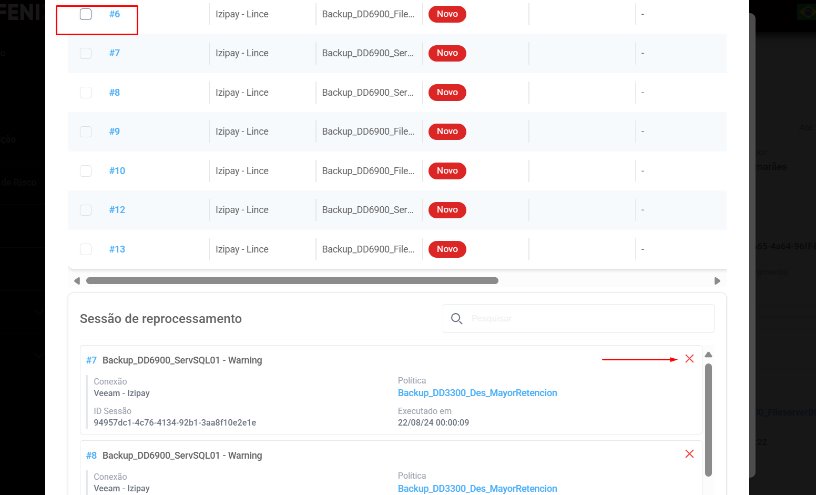
On the verification screen, we can validate the reprocessing sections. By clicking the “X” button, we undo the relationship and the incident returns to being a selection option.
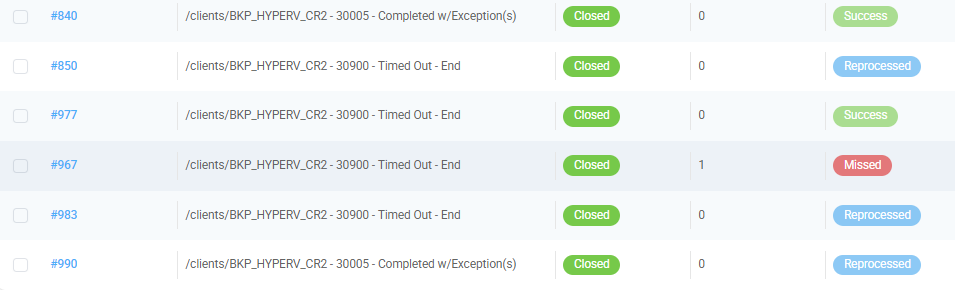
After closing as reprocessed, the “Closing” status will be blue as “Reprocessed”.
One option for large-scale closing of incidents is to filter for the desired characteristics and then click “Merge *** Incidents”. In the case of a massive problem, we can handle it in a unified manner.